
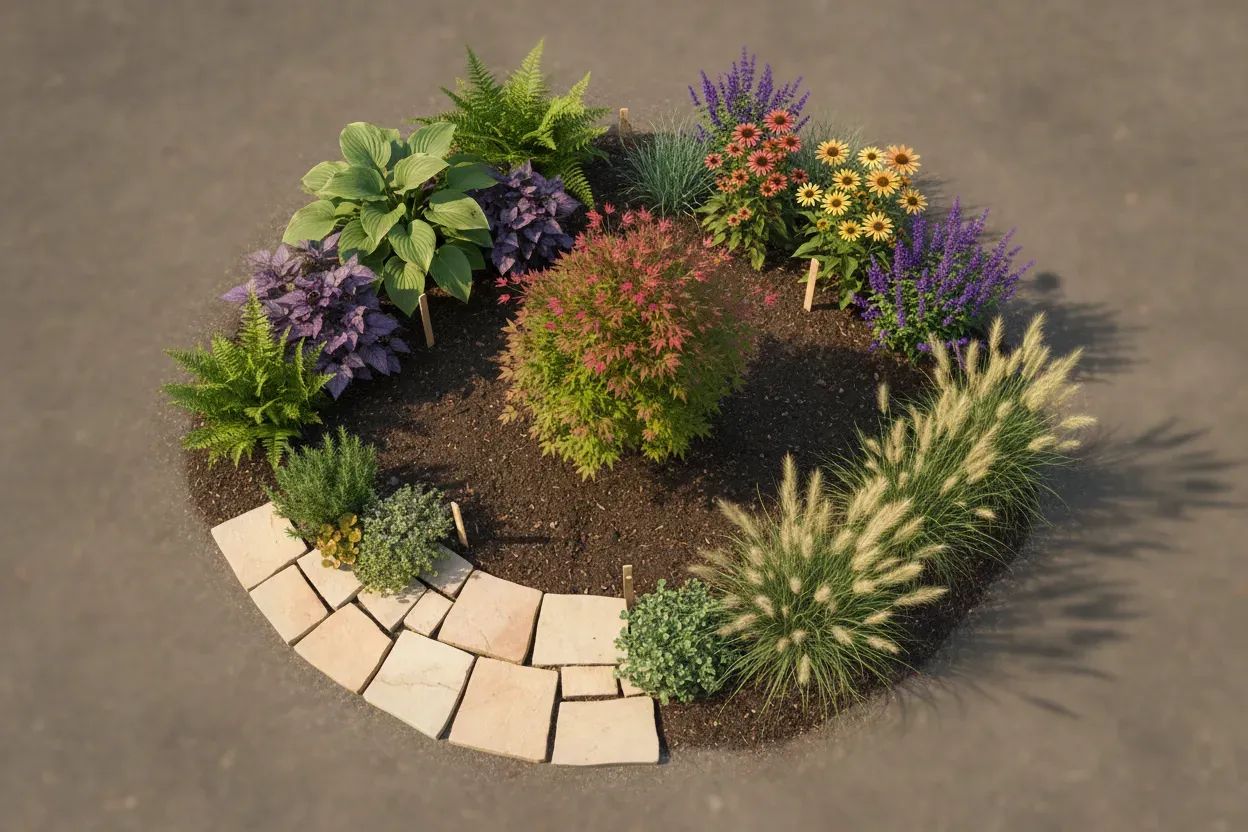
Creating a thriving landscape requires more than just choosing attractive plants. This guide covers strategic plant placement and spacing techniques, drawing on research and recommendations from horticulture professionals. Learn how to map stress zones in your yard before making final planting decisions to ensure long-term success.

1 gardener in this bed
Map Stress Zones Before Final Placement
Maria De Los PalotesOwner / Landscape Ideas Editor · 101 Landscape IdeasBefore choosing plants, I map the yard by stress zones instead of by aesthetics alone. I walk the space at three times of day and mark where the site has morning shade, hard afternoon sun, reflected heat from walls or paving, wind corridors, low wet spots, and dry edges near rooflines or fences. Then I group plants by matching tolerance, not just by color or mature size: heat-loving and drought-tolerant plants go near reflected heat, shade-tolerant plants go under canopy or north-facing walls, and moisture-loving plants stay in naturally lower or slower-draining areas.
The habit that has improved survival most is a short staging period before final planting. I place the plants in their intended spots while still in nursery pots for several days, then check how they look after a hot afternoon and after watering. If a plant wilts quickly, scorches, or stays too wet, I move it before committing. It is a simple trial run, but it prevents expensive replacements.
For spacing, I avoid the common mistake of planting for the first week's appearance. I use the mature spread as the guide and leave enough airflow for maintenance and disease prevention. In high-stress areas with reflected heat or wind, I give plants slightly more room and use mulch or groundcovers to protect the soil while they fill in. A landscape that looks a little open at installation usually becomes healthier, cheaper to maintain, and more resilient after one growing season.
Mark Paths for Easy Maintenance
Leave clear paths between planting areas so every plant can be reached easily. Access space makes pruning, watering, weeding, and harvesting safer and faster. Paths also prevent soil from becoming packed down by repeated foot traffic.
A narrow path may be enough for flower beds, while food gardens may need room for a wheelbarrow. Mark walking routes before planting to keep the landscape easy to maintain.
Match Sun Exposure to Each Site
Place plants with similar sunlight needs in the same part of the yard. Sun-loving flowers and vegetables need open areas that receive many hours of direct light. Shade plants do better under trees, beside north-facing walls, or in other protected spots.
Matching each plant to the available light helps it grow evenly and reduces stress. Observe sunlight across the yard for a few days before choosing planting spots.
Layer Plant Heights for Depth
Use different plant heights to make a small landscape feel full without taking up extra ground space. Tall plants can form a backdrop near fences or walls. Medium plants can fill the center, while low ground covers can soften the front edge.
This layered design also helps prevent taller plants from blocking light needed by shorter ones. Plan the height of each plant before putting it in the ground.
Keep Large Roots From Utilities
Keep trees, shrubs, and large-rooted plants away from foundations, pipes, and buried utility lines. Roots can spread much farther than the branches of a mature plant. Planting too close to a house may trap moisture near walls or create future repair problems.
Smaller plants with shallow roots are usually safer near walkways and building edges. Contact local utility services before digging in a new planting area.
Allow Airflow at Mature Width
Give each plant enough room for air to move between its leaves. Crowded plants hold moisture longer after rain or watering. Wet leaves can encourage fungal diseases and make pests harder to control.
Check the mature width on each plant label instead of spacing only for its current size. Set plants at their full recommended distance to support healthier growth.